The newly released Samsung Galaxy Note 10 (and 10 Plus) makes taking a screenshot extremely easy, though there's actually more than one way to do it. In fact you have the choice of seven different methods, all of which produce more or less the same result.
Let's take a closer look at how to take a Note 10 screenshot below.
Samsung Galaxy Note 10 screenshot method 1: Hold the buttons

This is the most common way to take a screenshot and, more or less, it works on all Android smartphones. Just press and hold the volume down and power buttons simultaneously and the screenshot should be created in a second or two.
Step-by-step instructions:
- Navigate to the content you want to capture.
- Press and hold the volume down and power buttons simultaneously.
Samsung Galaxy Note 10 screenshot method 2: Palm swipe
#gallery-4 { margin: auto; } #gallery-4 .gallery-item { float: left; margin-top: 10px; text-align: center; width: 50%; } #gallery-4 img { border: 2px solid #cfcfcf; } #gallery-4 .gallery-caption { margin-left: 0; } /* see gallery_shortcode() in wp-includes/media.php */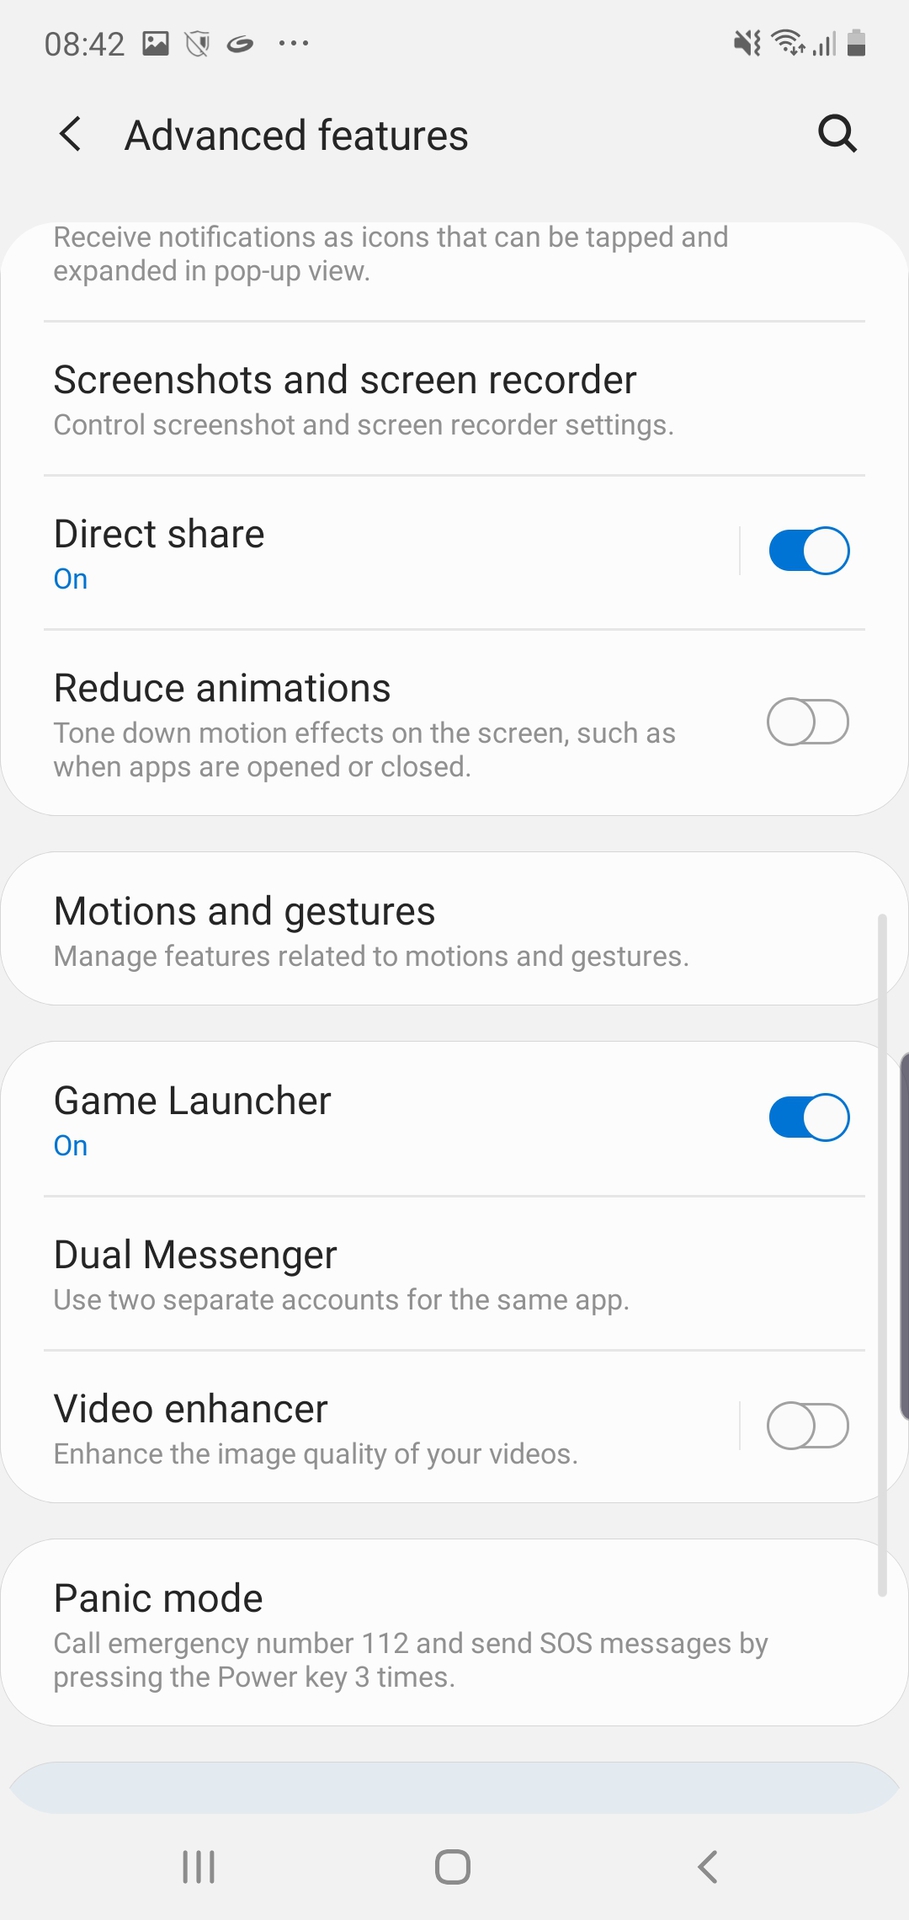
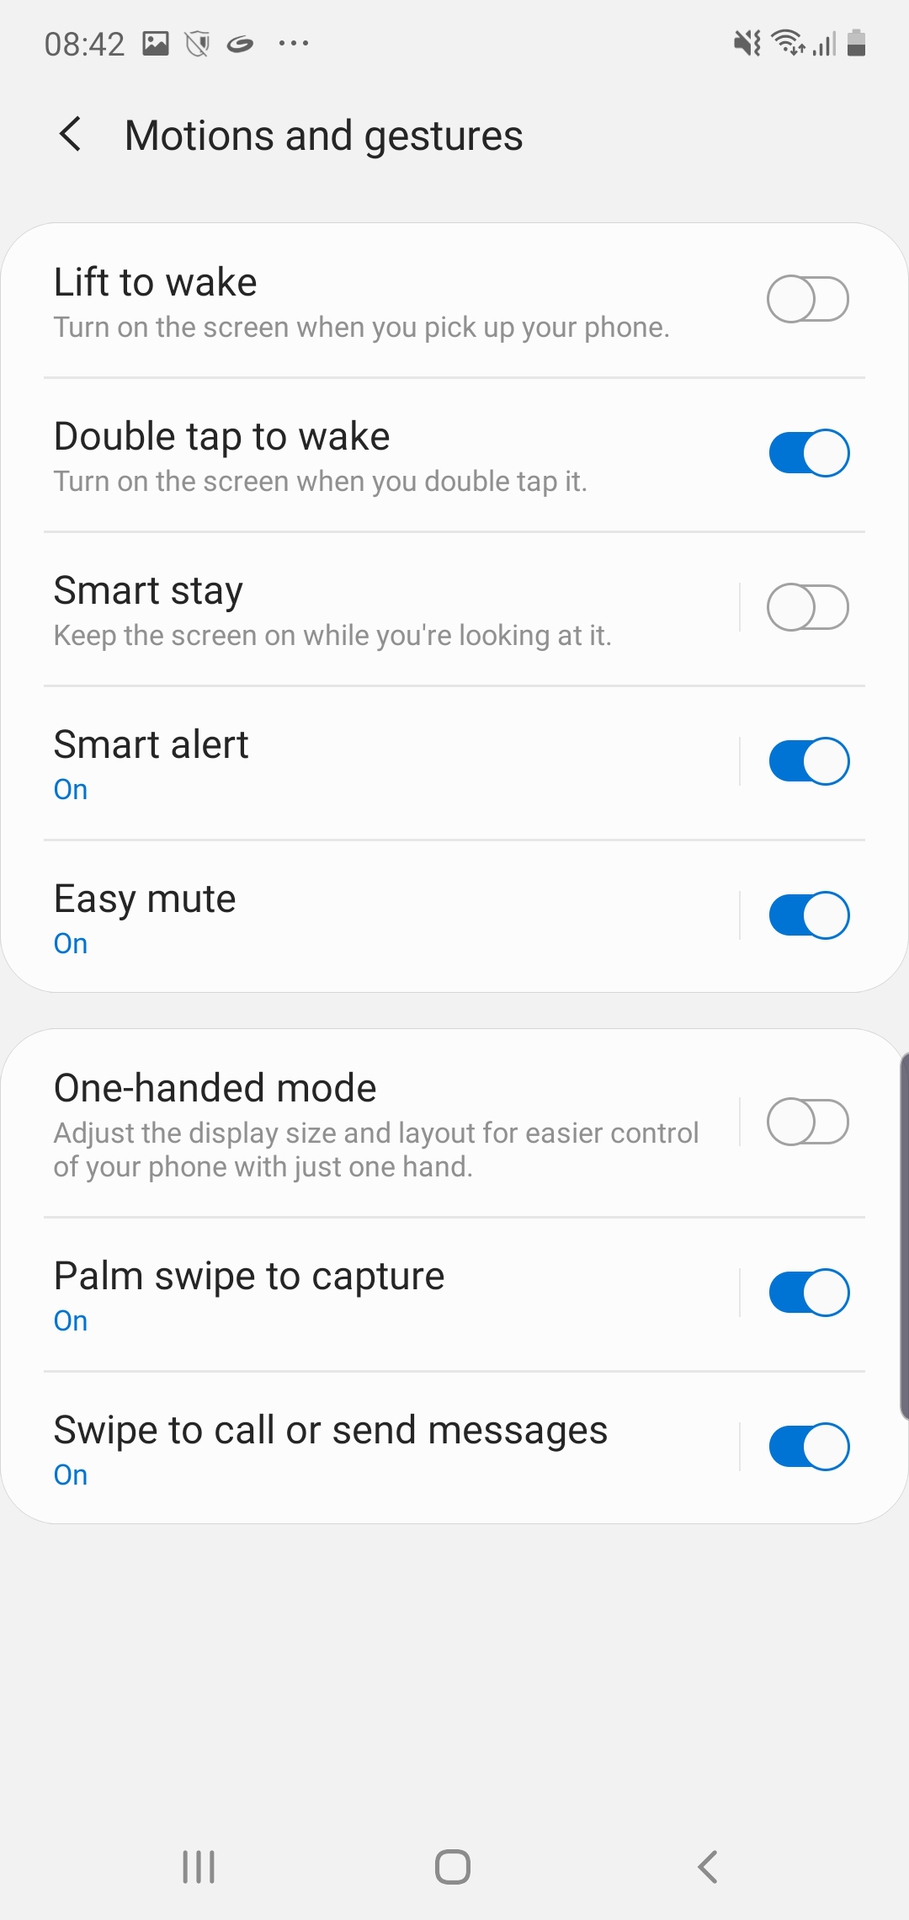
Taking a screenshot on the Galaxy Note 10 with a palm swipe may feel a bit odd when you first try it out, but you will get the hang of it pretty quickly. Just swipe the side of your palm across the whole display from left to right or vice versa to take the screenshot. This method will need to be enabled first by heading to Settings > Advanced features > Motion and gestures > Palm swipe to capture.
Step-by-step instructions:
- Navigate to the content you want to capture.
- Swipe the side of your palm across the display.
Samsung Galaxy Note 10 screenshot method 3: Smart capture
#gallery-5 { margin: auto; } #gallery-5 .gallery-item { float: left; margin-top: 10px; text-align: center; width: 33%; } #gallery-5 img { border: 2px solid #cfcfcf; } #gallery-5 .gallery-caption { margin-left: 0; } /* see gallery_shortcode() in wp-includes/media.php */
This method of grabbing Galaxy Note 10 screenshot lets you capture the entire page of a website instead of just what you see on your screen. You start by taking a regular screenshot by pressing and holding the volume down and power buttons simultaneously (method one), or with a palm swipe (method two).
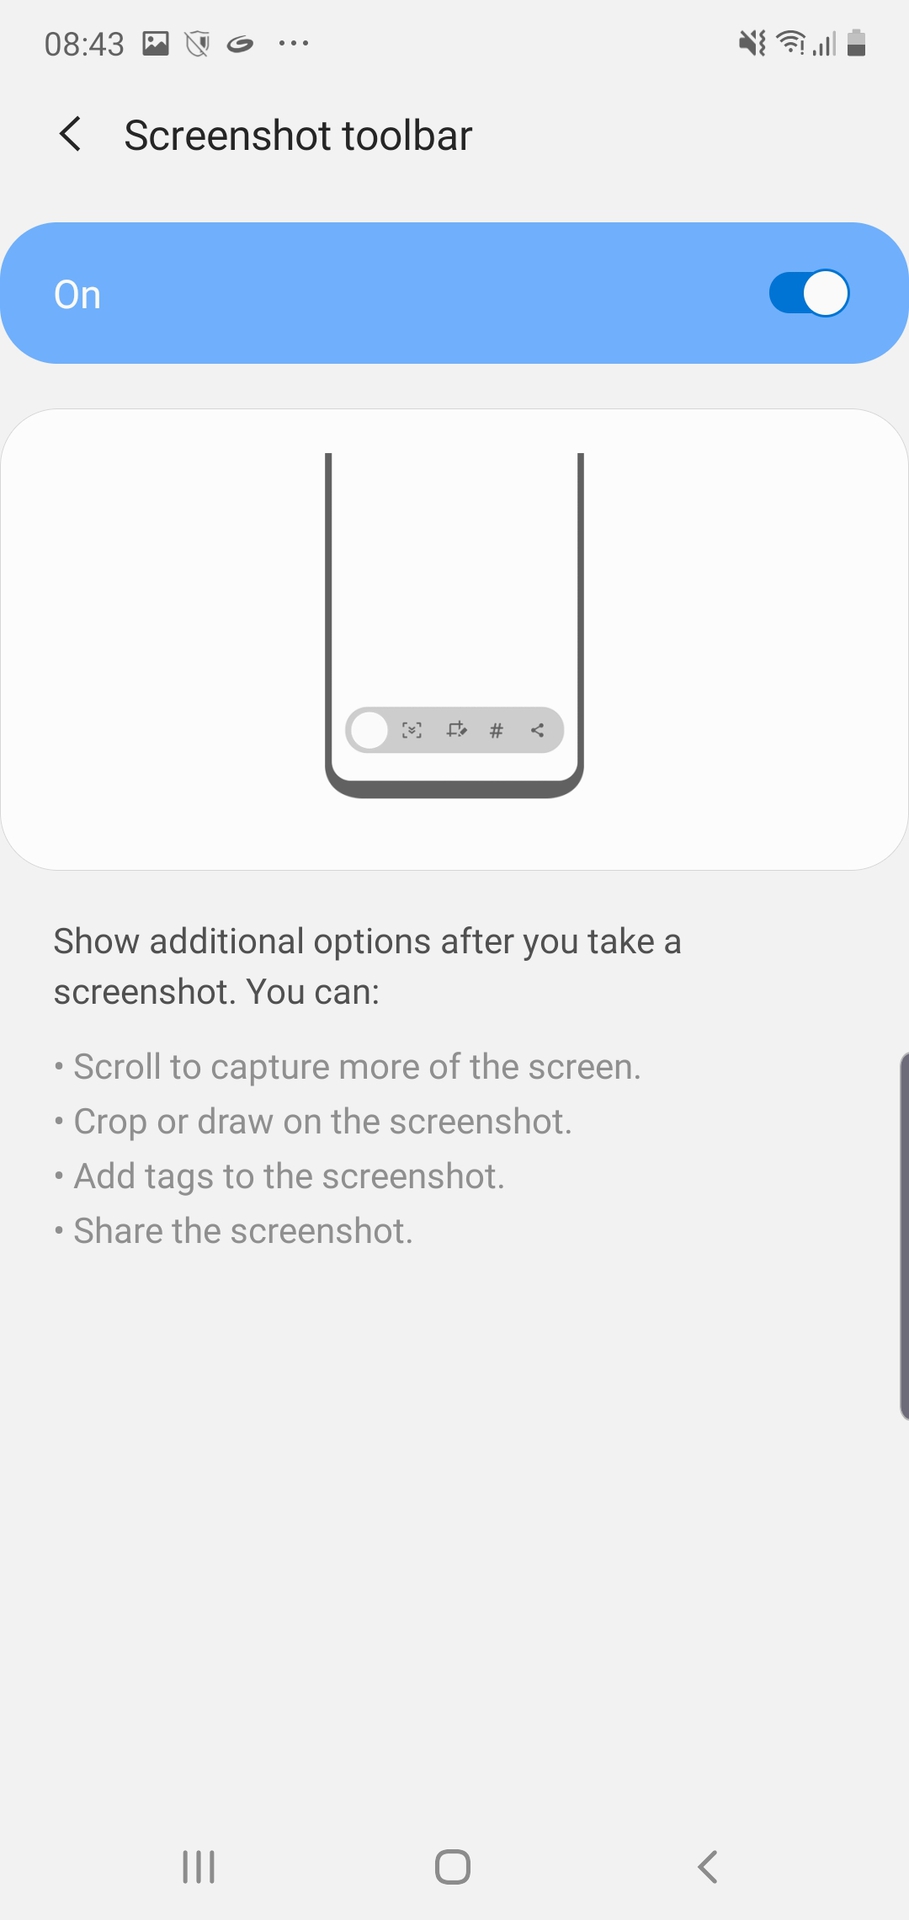
Once that's done, a few options will pop up at the bottom of the screen. Select "Scroll capture" and keep tapping on it to continue going down the page. Your Galaxy Note 10 will take multiple screenshots of the page and then stitch them all together to create the final product.
Make sure you enable this Galaxy S10 screenshot method by going to Settings > Advanced Features > Screenshots and screen recorder > Screenshot toolbar.
Step-by-step instructions:
- Navigate to the content you want to capture.
- Take a screenshot with the volume down and power buttons or a palm swipe.
- Tap the "Scroll capture" option that shows up at the bottom.
- Keep pressing the "Scroll capture" button to continue going down the page.
Samsung Galaxy Note 10 screenshot method 4: Bixby
#gallery-6 { margin: auto; } #gallery-6 .gallery-item { float: left; margin-top: 10px; text-align: center; width: 50%; } #gallery-6 img { border: 2px solid #cfcfcf; } #gallery-6 .gallery-caption { margin-left: 0; } /* see gallery_shortcode() in wp-includes/media.php */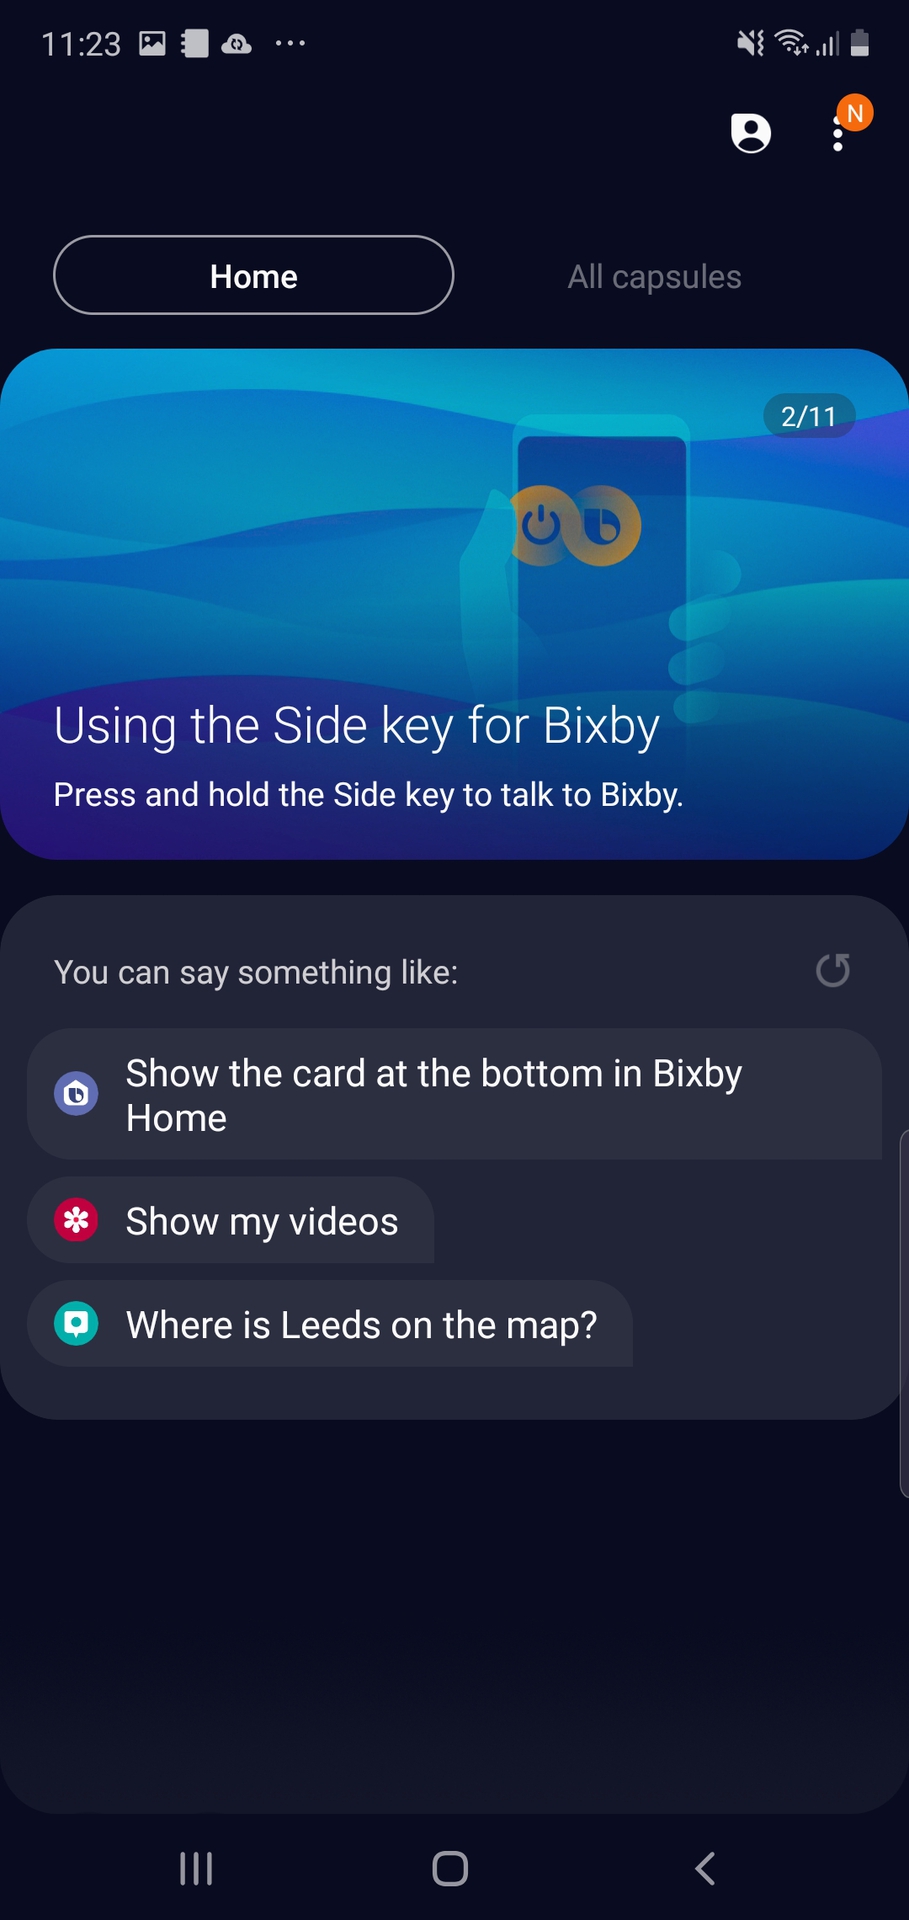
Samsung's Bixby digital assistant lets you take a Galaxy Note 10 screenshot with a simple voice command. Just press and hold the phone's dedicated Bixby button on the phone and say, "Take a screenshot."
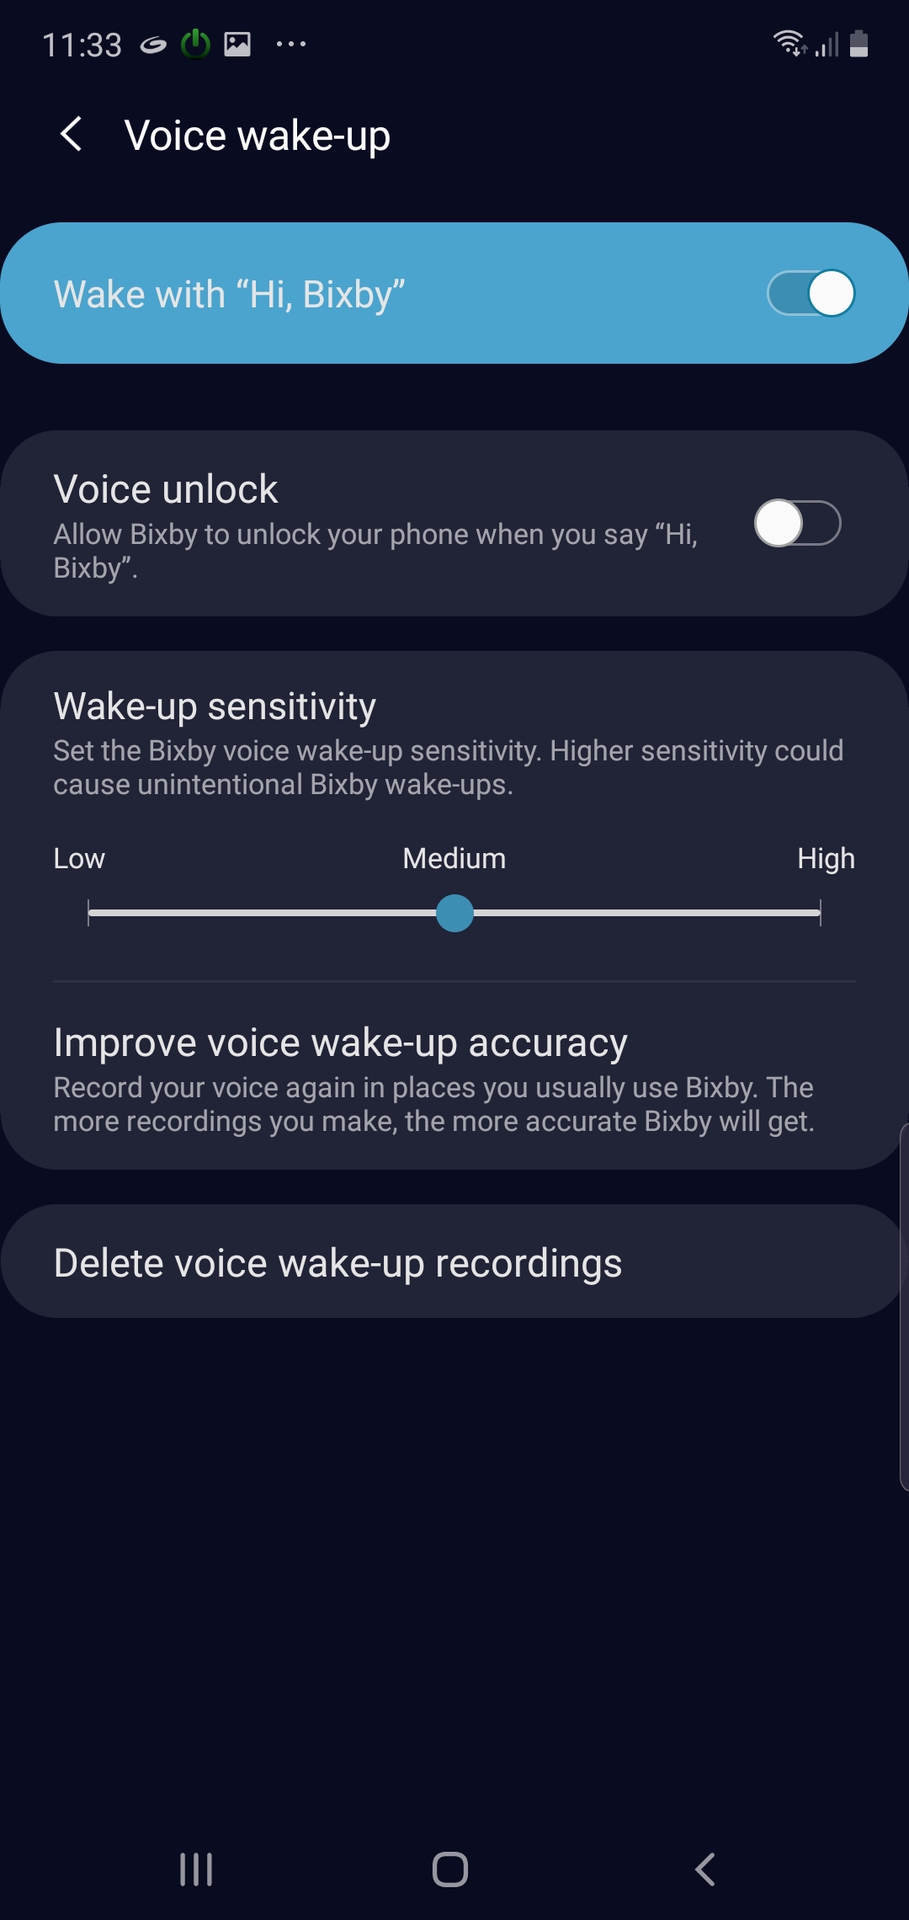
You can also use Bixby to take a screenshot just by saying, "Hi Bixby," but you have to set up the feature by going to Bixby home > Settings > Voice wake-up.
Step-by-step instructions:
- Navigate to the content you want to capture.
- Press and hold the Bixby button or say, "Hi Bixby."
- Say, "Take a screenshot," when the digital assistant is activated.
Samsung Galaxy Note 10 screenshot method 5: Google Assistant

In addition to Bixby, the Galaxy Note 10 phones all have Google Assistant on board, which also lets you take a screenshot with a voice command. Just say, "OK Google," to bring up Assistant. Then just say, "Take a screenshot," or type in the command with the keyboard.
Step-by-step instructions:
- Navigate to the content you want to capture.
- Say, "OK Google".
- Say, "Take a screenshot", or type in the command with the keyboard.
Samsung Galaxy Note 10 screenshot method 6: Smart select

Samsung's Smart Select feature is great when you only want to capture a specific part of the content displayed on the screen. You can take a screenshot in two different shapes (square or oval) and even create a GIF. To get started, open the Edge panel from the side, find and tap the "Smart Select" option, and choose the shape you want to use. Then just select the area you want to capture and tap "Done."
Make sure this method is enabled first. To check if it's turned on, head to Settings > Display > Edge screen > Edge panels.
Step-by-step instructions:
- Navigate to the content you want to capture.
- Open the Edge panel and choose the "Smart Select" option.
- Select the shape you want to use for the screenshot.
- Select the area you want to capture and tap "Done."
Samsung Galaxy Note 10 screenshot method 7: Using the S-Pen
#gallery-7 { margin: auto; } #gallery-7 .gallery-item { float: left; margin-top: 10px; text-align: center; width: 50%; } #gallery-7 img { border: 2px solid #cfcfcf; } #gallery-7 .gallery-caption { margin-left: 0; } /* see gallery_shortcode() in wp-includes/media.php */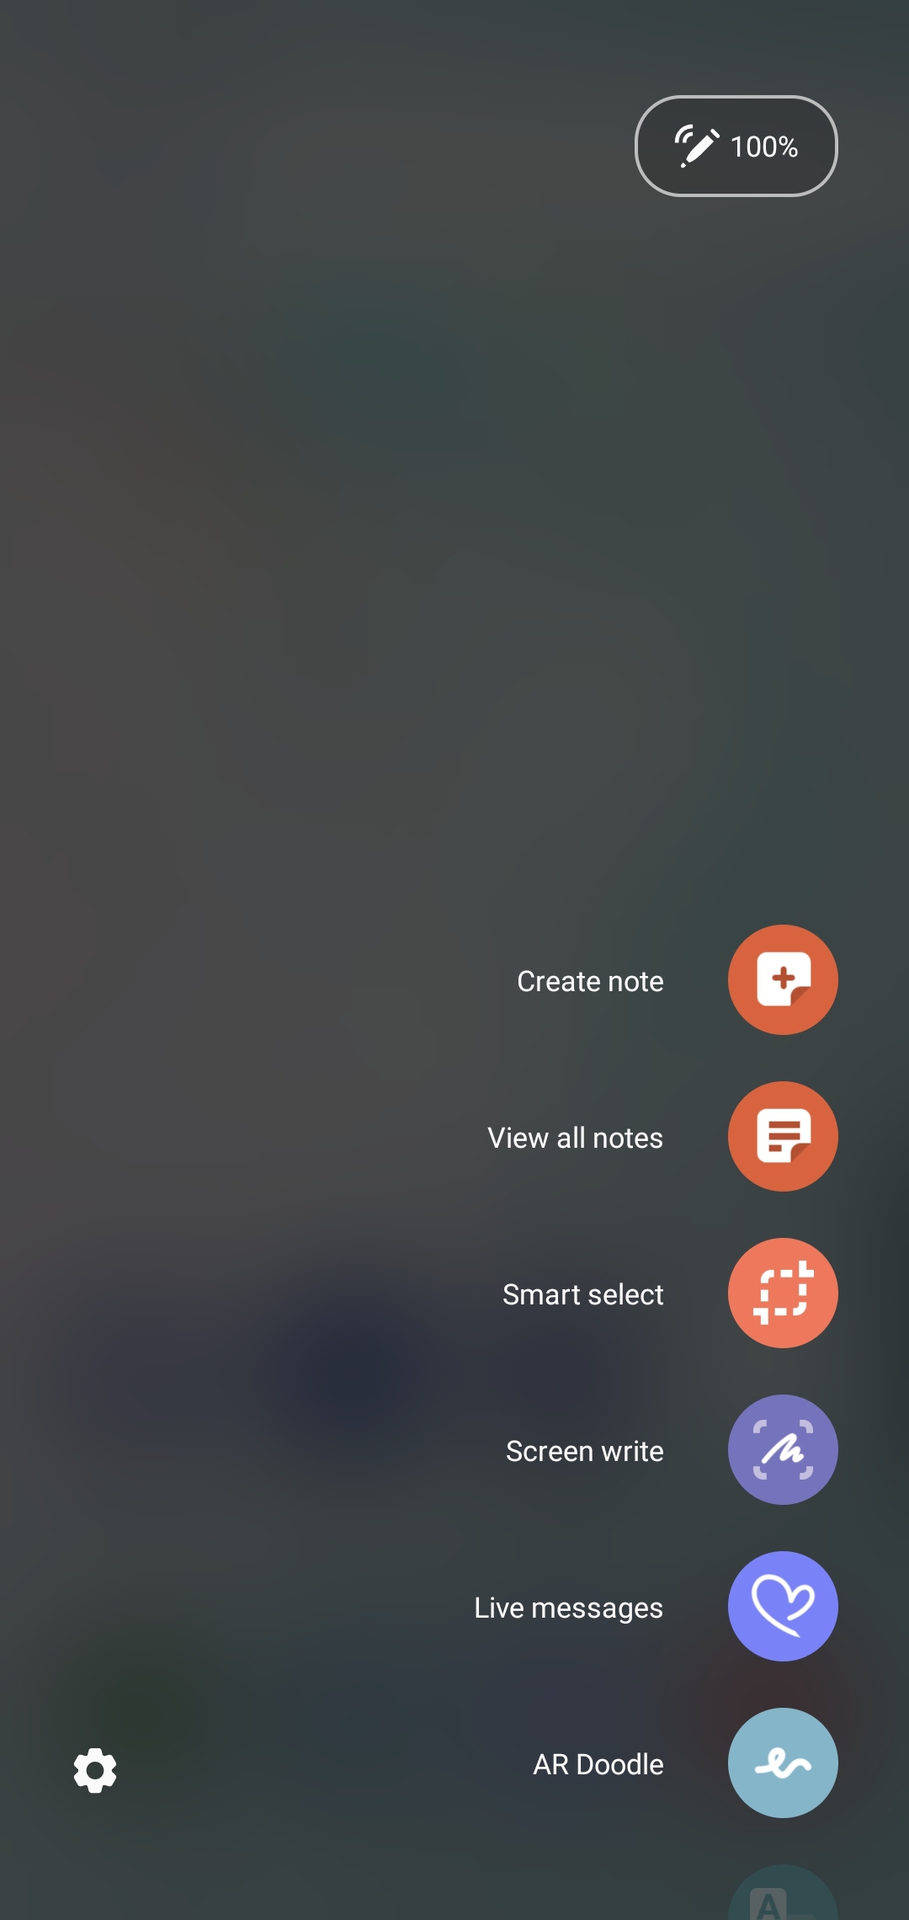
In addition to the six methods we have discussed, the Galaxy Note 10 phones add a seventh method that's unique to the Note series. You can access the phone's embedded S-Pen stylus to take a screenshot.
Step-by-step instructions:
- Navigate to the content you want to capture.
- Remove the S-Pen from its embedded section of the Note 10 phone.
- Taking out the S-Pen should launch the Air Command logo on the side of the Note 10 display
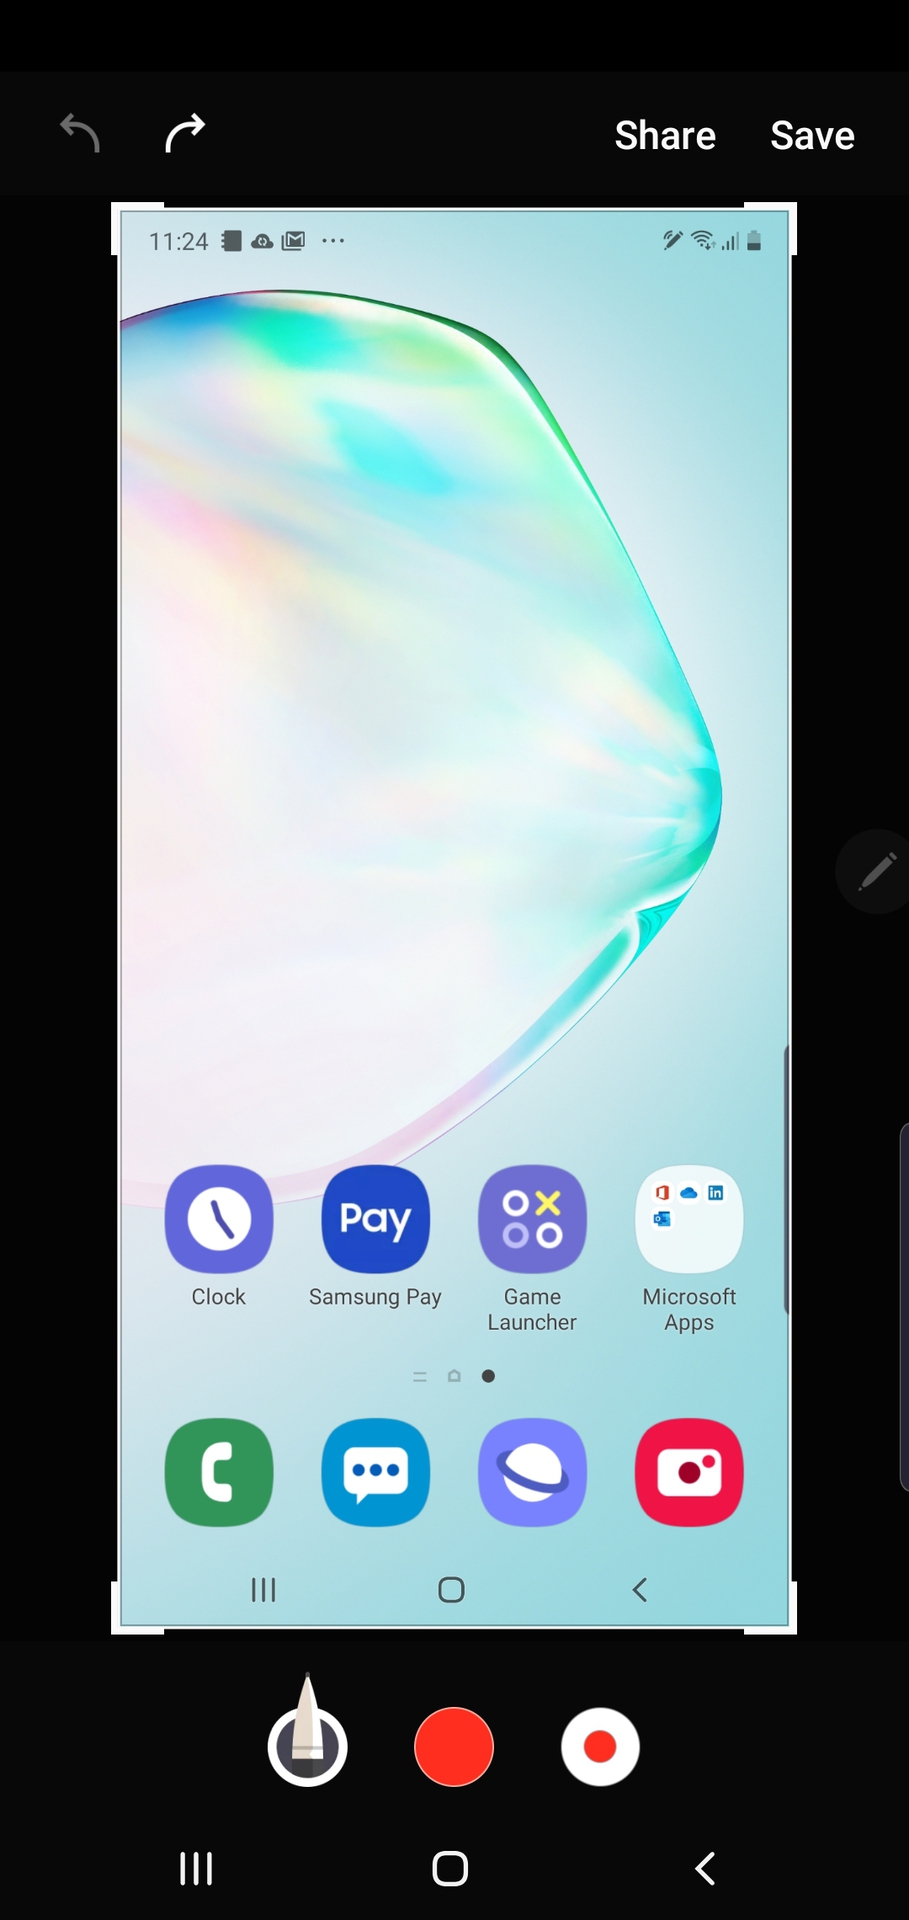
- Tap on the Air Command logo with the S-Pen, and then tap on the Screen Write selection.
- Presto! The Note 10's screen should flash, and you can see the screenshot that you have just taken.
- After you have taken the screenshot, you can continue to use the S-Pen to write on or edit the image before you save it.
There you have it — these are the seven ways you can capture a Galaxy Note 10 or Galaxy Note 10 Plus screenshot on your Samsung Galaxy Note 10 phone. Which one do you normally use? Let us know in the comments!
More posts about Samsung Galaxy Note 10


from Android Authority https://ift.tt/2Hzq0Pg
via IFTTT
Aucun commentaire:
Enregistrer un commentaire